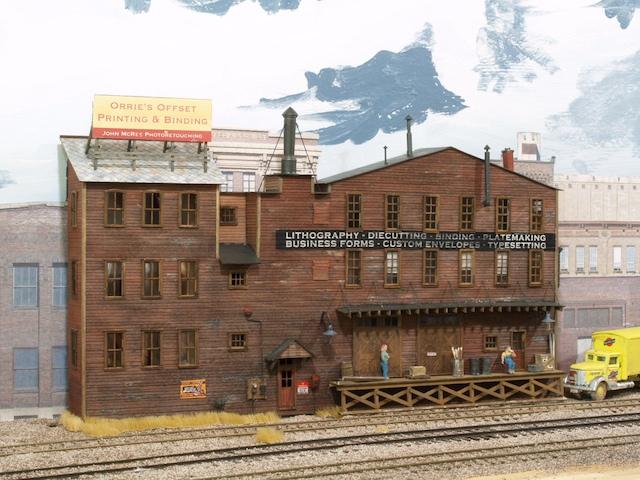
My build of FOS Scale Limited's kit Forley & CO Lithographers
One of the most enjoyable parts of the hobby is building craftsmen kits. These are kits made out of wood with white metal detail castings. They were originally made famous by George Sellios' Fine Scale Miniatures kits. There is just one FSM kit per year and they always sell out. There are a number of other really nice crafstmen kit makers including several that use laser cut wood parts. The laser cutting makes for kits that go together with minimal fitting and fussing. I love to build these laser cut kits and am always looking for a place I can put one on the layout.
I just built the FOS Scale Limited kit Forley & Co Lithographers. I renamed the building Orrie’s Offset Printing and Binding after my a printing company my Dad bought in San Francisco. I worked at Orrie’s for several summers and after school. It convinced me I never wanted to be a printer, but I did learn a lot of good skills I find useful in model railroading. In particular, I learned to tell if things were square by eye balling it.
The kit went together really well. The biggest problem I has was dealing with parts warping from the the based paints I used. To preserve my health I avoid solvent based paints which have the advantage that they don’t warp wood and cardboard as much. I painted the kit so that it would look old a decrepit. The kit instructions described how to do this in detail. I first stained the kit with a mixture of alcohol and ink applied unevenly on purpose. Then I scraped off the stain off in spots and distressed the wood with a knife. I then restained the building with a thin wash of burnt sienna (dark red) paint. I then took a wet paint brush and dipped the tip into the burnt sienna paint and brushed individual sections of boards here and there with it. Finally, after it was all dry I restained it. The windows and doors were sprayed with Dark Tan Master Modeler’s paint (outside to keep the fumes manageable) and allowed to dry thoroughly. Then I used water based light tan paint on them allowing it to cover unevenly. The water based paint doesn’t like the enamel and becomes patchy revealing the color underneath. This makes it look like the paint is peeling on the frames. This is a good example if turning something normally undesirable into a plus.
I added two lights on the outside with shades. These are two 14V bulbs that I wired in series and then connected right to the track bus. Since I use DCC this means the lights are on whenever the layout power is on. By wiring them in series, the bulbs should last pretty much forever. Inside the building, I added a bright white LED that lights the upper left story where I imagine someone works late at night.
Craftsmen kits are expensive. This one cost $85. However, you get a lot of enjoyment out of them. They take a long time to build and when they are done they provide a lot more satisfaction than buying a plastic kit does. They just look a lot nicer. I ordered the FOS kit of the WKLO Radio. I'll let you know how that one comes out in a future blog. It will take me a few weeks to build it.
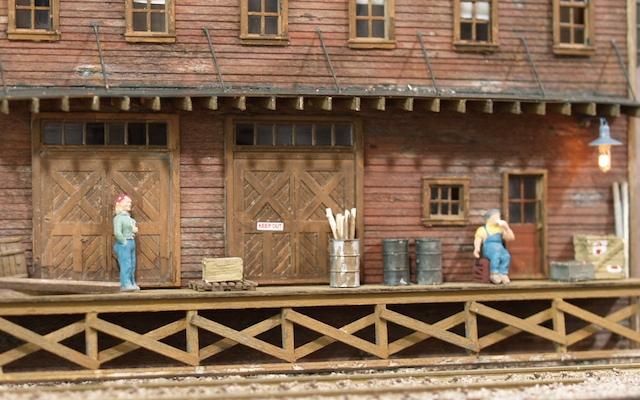
Close-up of the crew taking a break on the loading dock.